Overview
A contact timeline is a perpetual history of notes, events, conversations, and interactions with a contact. The timeline will record and display emails, text messages, changes in assessments, and other important subjects. A timeline item provides details on the occurrence, including when the event occurred, who created the item, who contacted the person, and a description. Over time, a contact timeline may become lengthy with information and events that have transpired. Timeline types allow you to organize your data on your contact timeline. This will also allow you to filter timeline types on your search results page for easier data location.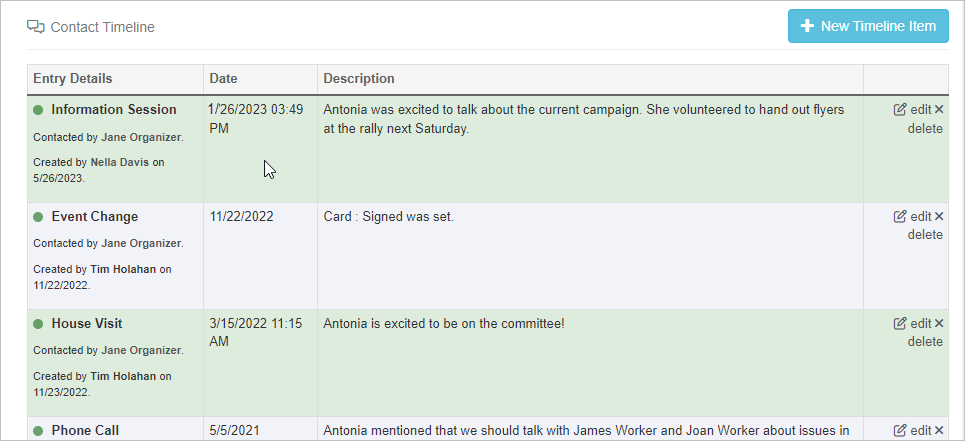
- Note
- Code Change (Assessment Change)
- Event Change
- Group Meeting
- House Visit
- One-on-one
- Phone Call
- SMS Message
Creating a timeline type
- Click the Project settings icon in the upper right corner of any page (or press Ctrl-K / ⌘K) and choose All project settings.
- Under the Customization section of Project settings, select Timeline item types.
- Select the + New button and a new timeline item type will appear.
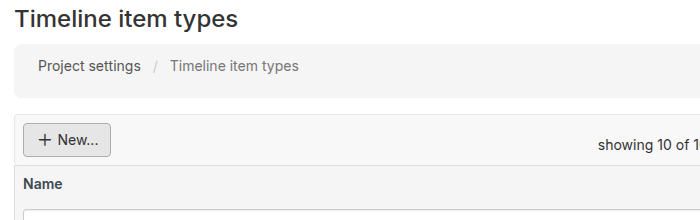
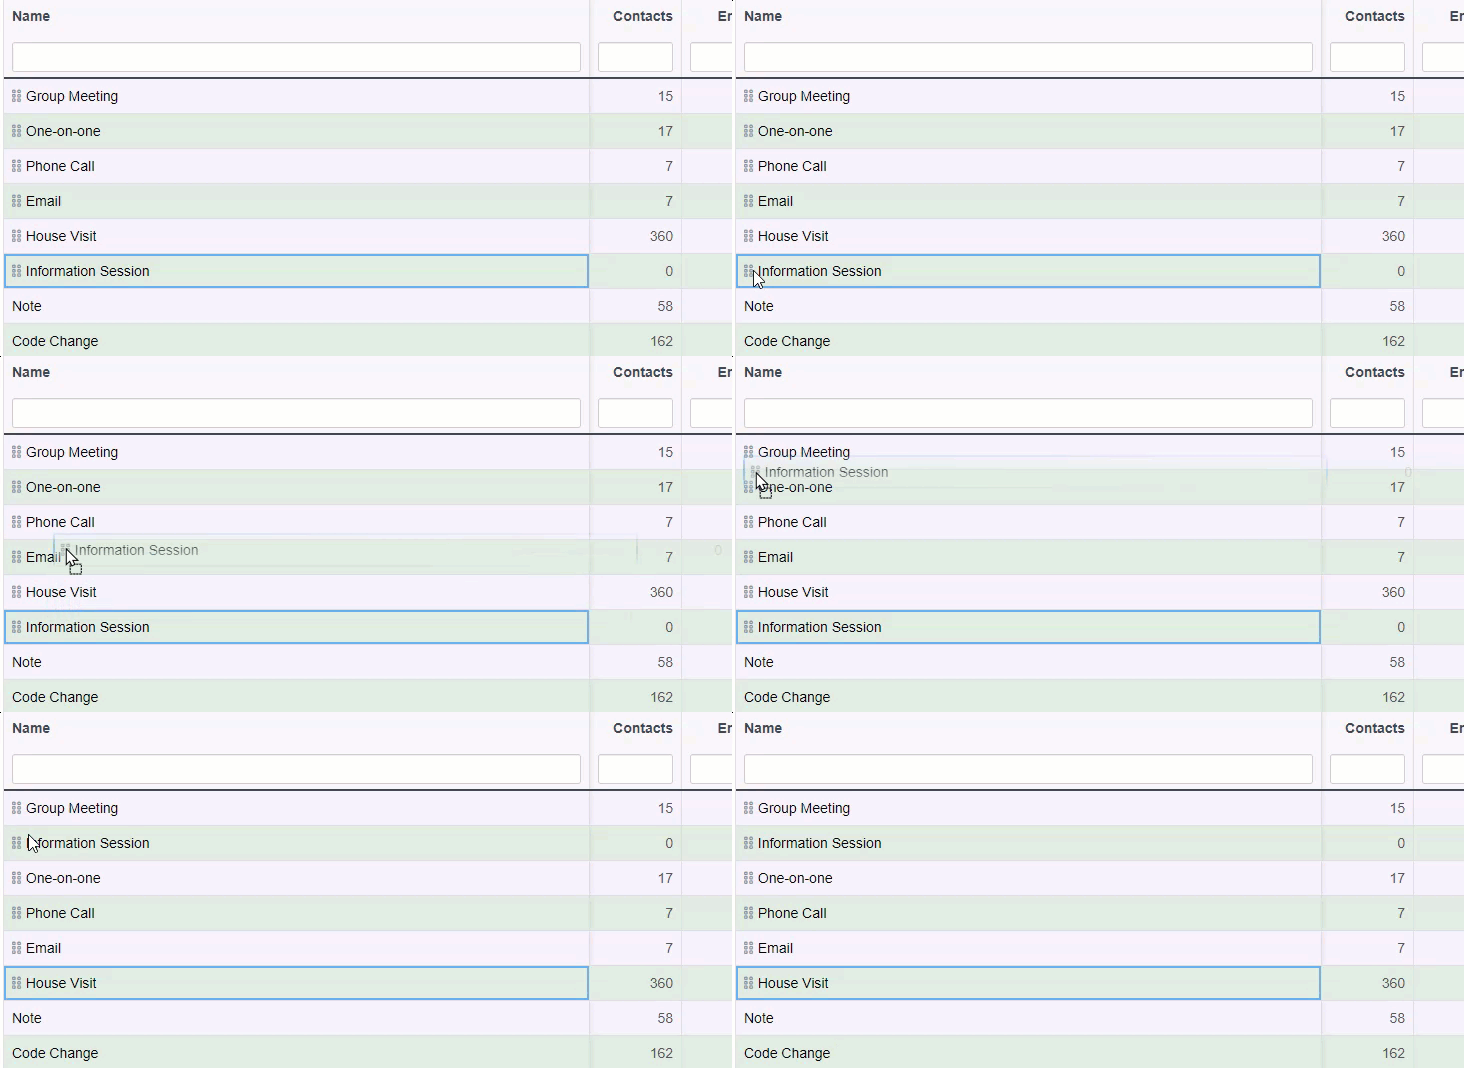
- Name your new timeline item type. For this example, we will create an “Information Session” timeline item type.
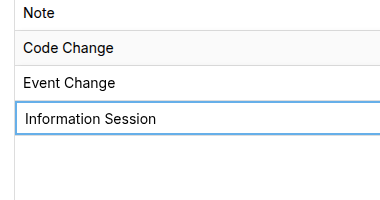
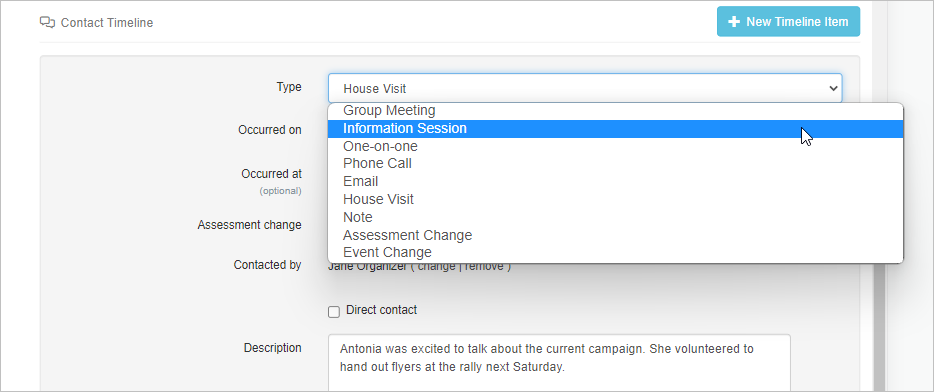
- You can drag and drop to reorder the position of the item in your project’s timeline type dropdown menu. (It’s helpful to place frequently used timeline types toward the top of the menu.)
Deactivating a timeline type
When a timeline type is no longer useful for new entries but you cannot or do not want to delete it, you can deactivate it. A deactivated type disappears from the type picker when someone creates or edits a timeline item, so project members can no longer choose it for new entries. Existing timeline items keep their type and continue to display it, and searches, timeline filters, and reports still include those items. To deactivate a type, go to Project settings > Timeline item types and clear the Active? checkbox in the type’s row. The table saves immediately and shows a confirmation message. To reactivate the type, check the Active? box again.You cannot deactivate the three built-in types: Note, Code Change (or Assessment Change), and Event Change. Broadstripes records these automatically, so they must remain available. You also cannot deactivate a type that a public form uses to create timeline entries; the settings page will show you which forms use the type. To deactivate it, either turn off the form’s timeline entry setting or switch the form to a different type first.
Deleting a timeline type
If you or your project members do not use a particular timeline type, you may delete that one. This will keep your timeline types menu concise and consistent.- Click the Project settings icon in the upper right corner of any page (or press Ctrl-K / ⌘K) and choose All project settings.
- Under the Customization section of Project settings, select Timeline item types.
- Click x delete in the corresponding row of the timeline type that you want to remove from the project. You will be prompted to confirm your choice to delete via popup. Click OK.
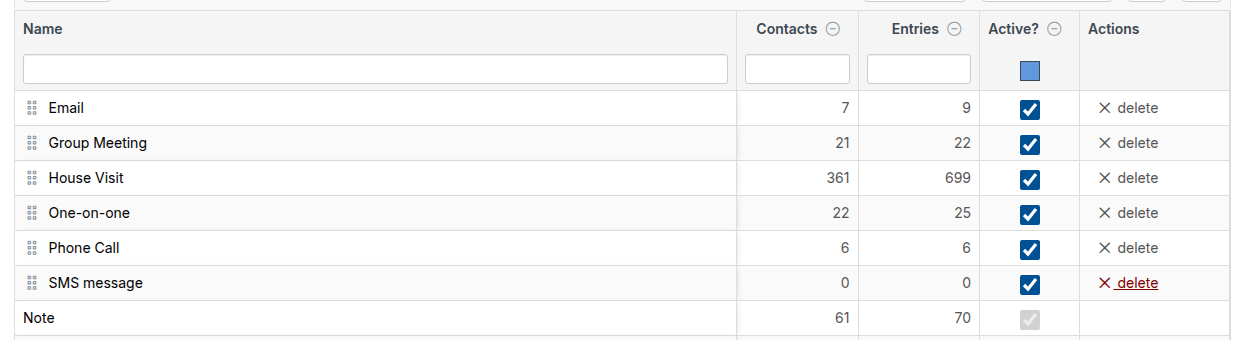
There are a few instances in which you cannot delete a timeline type. If a timeline type has a timeline item associated with a contact, the timeline type cannot be removed. In addition, Note, Code Change, and Event Change are system defaults and may not be removed.
Filtering timeline types in search results
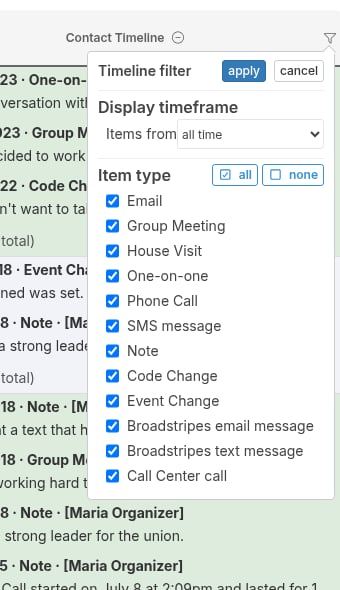
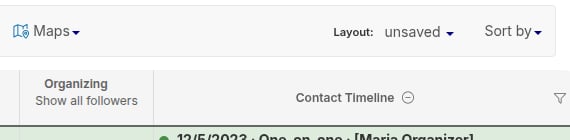
The contact timeline column in your search results can be filtered by timeframe and by item type.- To filter, select the funnel in the top right corner of the contact timeline column.
- A panel will appear with two sections:
- Display timeframe — Click one of the segmented buttons (All, 1w, 2w, 1m, 3m, 6m, 1y) to limit the timeline to a specific lookback window. The caption below the buttons confirms your selection in plain language (for example, “Items from the past three months”).
- Item types — Check or uncheck each timeline type to control which types appear. Use the All and None links to select or deselect everything at once.
- Click Apply to update the timeline column.